Friday, March 29

Painting Cabinets DIY

Happy Friday to us all! If you were here last week, you probably saw my kitchen update with our spiffy white cabinets (and this post about how we updated the cabinet doors).


I am SO glad that we painted them and so glad we chose white. They look like new cabinets and the white is so bright in a room that doesn't get a ton of daylight. Here's a little before/after action:


So today we're going to go through the nitty gritty details of our cabinet painting adventure. Not a super fun read, but hopefully helpful if you've considered painting your cabinetry. Let's start with a shopping list:
  • Deglosser (for getting any shine off pre-finished cabinets so the primer will stick better. you won't need it for raw cabinetry like the ones we built, but we did use it on our existing cabinetry.)
  • Sandpaper (a power sander would be a great investment if you have a lot of cabinetry!)
  • Primer (we used Benjamin Moore's Aqua Lock)
  • Paint (we used Benjamin Moore's Aura in Marscapone)
  • Dropcloths
  • Painting supplies (brushes, small foam rollers, paint trays, tape, etc.)

Tuesday, March 26

Cabinet Door Makeover

Okay, I really am getting to the painting story. But I realized I should start at the beginning with our cabinet door makeover. It started when I found a brand-spanking new cabinet at a yard sale for $5. It would fit perfectly in our kitchen remodel and it had this fun detail on the doors.


It turned out to be a great inspiration for how to blend all our cabinets together. We ended up using a mix of existing cabinets, purchased cabinets, and home-built cabinets so we really needed a way to make them look cohesive. So what better than putting a matching trim detail on all the doors? Here's what we used to pull it off:
  • 1/4" plywood
  • table saw
  • hand saw (you could also use a miter saw or circular saw)
  • wood glue
  • finishing nails
  • wood filler
  • sandpaper
Our first step was cutting the plywood into strips. We used a table saw to cut strips 2 1/2" wide for the frame pieces, and 2" wide for the center stile (we had 2 really narrow doors that got 1" center stiles instead). Once the strips were cut, we just went door-by-door measuring to cut the strips to length. We started by cutting the side pieces to the full height of the door. Next we cut the top and bottom boards to fit in between the side boards, then the stile to run between those. (for a different look you could leave out the center stile and just do the outline)


Once we had a set cut and ready we started with a dry run to make sure things fit together well. Then we attached all the boards with wood glue and a few 1/2" finishing nails.


We let them sit in the basement overnight for the glue to dry. Then we used a wood filler to fill any gaps and nail holes in trim. After some more dry time, we sanded everything nice and smooth.


Then we were ready for primer and paint! But we're getting to that. Until then here's a little peek at the the finished doors. It really made them look like whole new cabinets with just a small investment!


Anybody else been working on a kitchen update or revamping old cabinetry?

Monday, March 25

DIY Natural Hand Soap

I finally checked one more thing off my to-do list. We've been slowly switching to natural products over the last year or so, and I finally just added hand soap to the list! I followed this tutorial to turn a bar of natural soap into a gallon of liquid soap. You just need a few ingredients to make your own:

It's actually an easy process once you round up the ingredients.
  1. Grate the bar of soap. 
  2. In a large pot, combine 3/4 gallon of water, the grated soap, glycerin (helps thicken the soap and moisturizes), and honey (helps the soap foam and moisturizes). Cook over medium heat until the soap dissolves.
  3. Take it off the heat and let it cool overnight. In the morning, break up the soap using a whisk. Working in batches, put the soap in a stand mixer and beat on low, adding part of the remaining 1/4 gallon of water until you get a good consistency. 
  4. Use a funnel to fill your soap dispenser, and store the leftover soap in a gallon bag or washed-out milk jug.

Like the original tutorial said, the soap ended up with a kind of weird, goopy texture kind of like egg whites. Just to warn you. :) We've actually found that the texture doesn't work well with our fancy soap pump in the bathroom, I think maybe just because the opening is so narrow. It kind of gets hung up in there and suddenly blasts across the bathroom. Hmmm. But it is nice to have an all natural soap, especially for little hands.

 After I made that soap, I kind of had a stroke of genius. We'd tried watering down Dr. Bronner's liquid soap before and found it way to runny for our pump. But I just happened to be finishing off a foam dispenser we got for Christmas when it hit me! Seriously, if you want natural soap that's super easy and super cheap, look no further. Here's what you need:
  • Dr. Bronner's liquid soap (lots of scents and sizes are available online if you can't find it locally, but our Trader Joe's has the 32oz size for $10 which is the best deal I've seen. It's also great for natural cleaning so any extra won't go to waste!)
  • Water
  • An empty foaming soap dispenser
To make natural foaming soap, I just filled the dispenser halfway with soap and the rest of the way with water, then swirled it around to mix them. I actually found this to be thicker and soapier than usual, so I think I'll try watering it even more next time. Easy, right? And it turns out little guys love foamy soap, so double-win!


How do you save money on natural products? Have a favorite product or DIY tutorial you'd like to share?

Wednesday, March 20

We Painted the Cabinets!

I just realized today it's been almost 2 1/2 years since we moved in. Which means we've been "remodeling our kitchen" for over 2 years. Ugh. Of course most of that time has been us not touching the kitchen just hoping it would finish itself. But every now and then we get a burst of energy and tackle the next step. A little while ago we had such a burst and finally... painted the cabinets! Woot!


I'll fill you in on the details later this week, but first I wanted to take a look at where we started, and the real life timeline of our kitchen makeover....

Friday, March 15

Pi(e) Day

Anybody else celebrate pi day yesterday? I'll go ahead and say, I had no idea. But fortunately my husband is up-to-date on most dessert-related holidays. "Holidays." So he filled me in first thing in the morning and we decided to celebrate accordingly. We not only ate pie, we rented The Life of Pi. I know, go big or go home. ;)


B and I spent the morning rummaging through the pantry and fridge trying to figure out what kind of pie we could make without going to the store  - we actually ran to the closest grocery store before lunch to try making these, but I don't know the layout and couldn't find ANYTHING I was looking for. But I did stumble across Cocoa Wheats on my way up and down the aisles. Consolation prize. Anyway, back in our kitchen we found almonds, cream cheese, and frozen blueberries, did a little recipe hunting, and managed to throw this guy together.


Boom, baby! First I found this yummy looking cheesecake recipe that's made with Greek yogurt, but I would have to let it strain overnight and pie day waits for no one. So I put that on my to-do list for next week. More importantly, that recipe used a homemade 
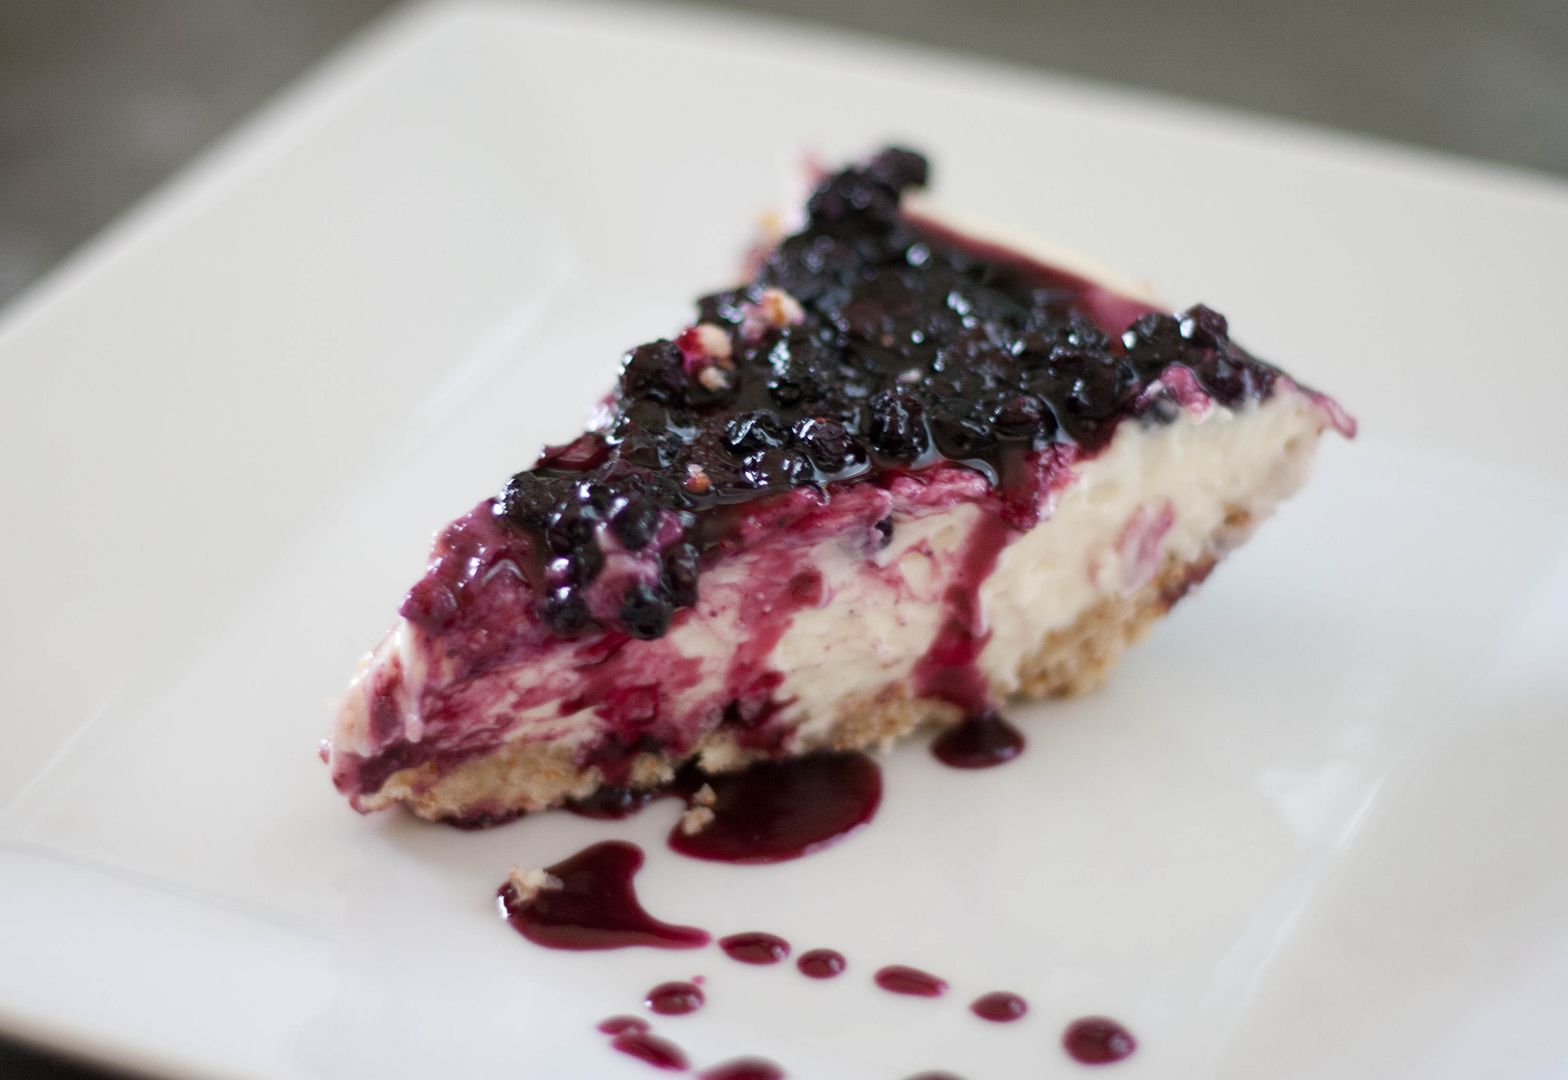
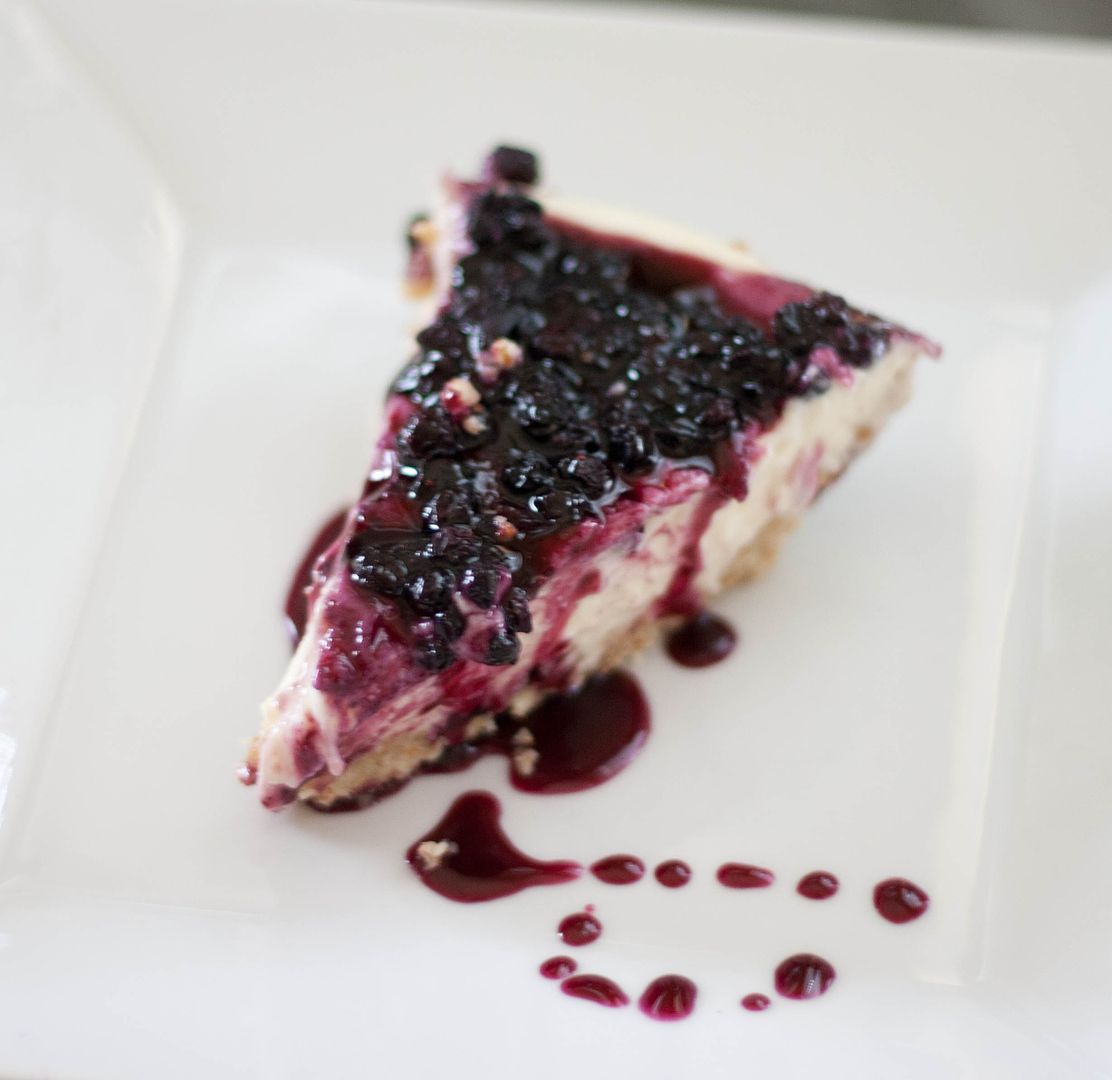
pie crust made of almonds! Which I totally had the ingredients for. Then I just needed a pie to put in the crust. Knowing we had cream cheese and blueberries, I pulled up this pinterest favorite - blueberry cream cheese pie. And then my heart sank a little... we don't have sweetened condensed milk in the house. But a little googling pulled up 
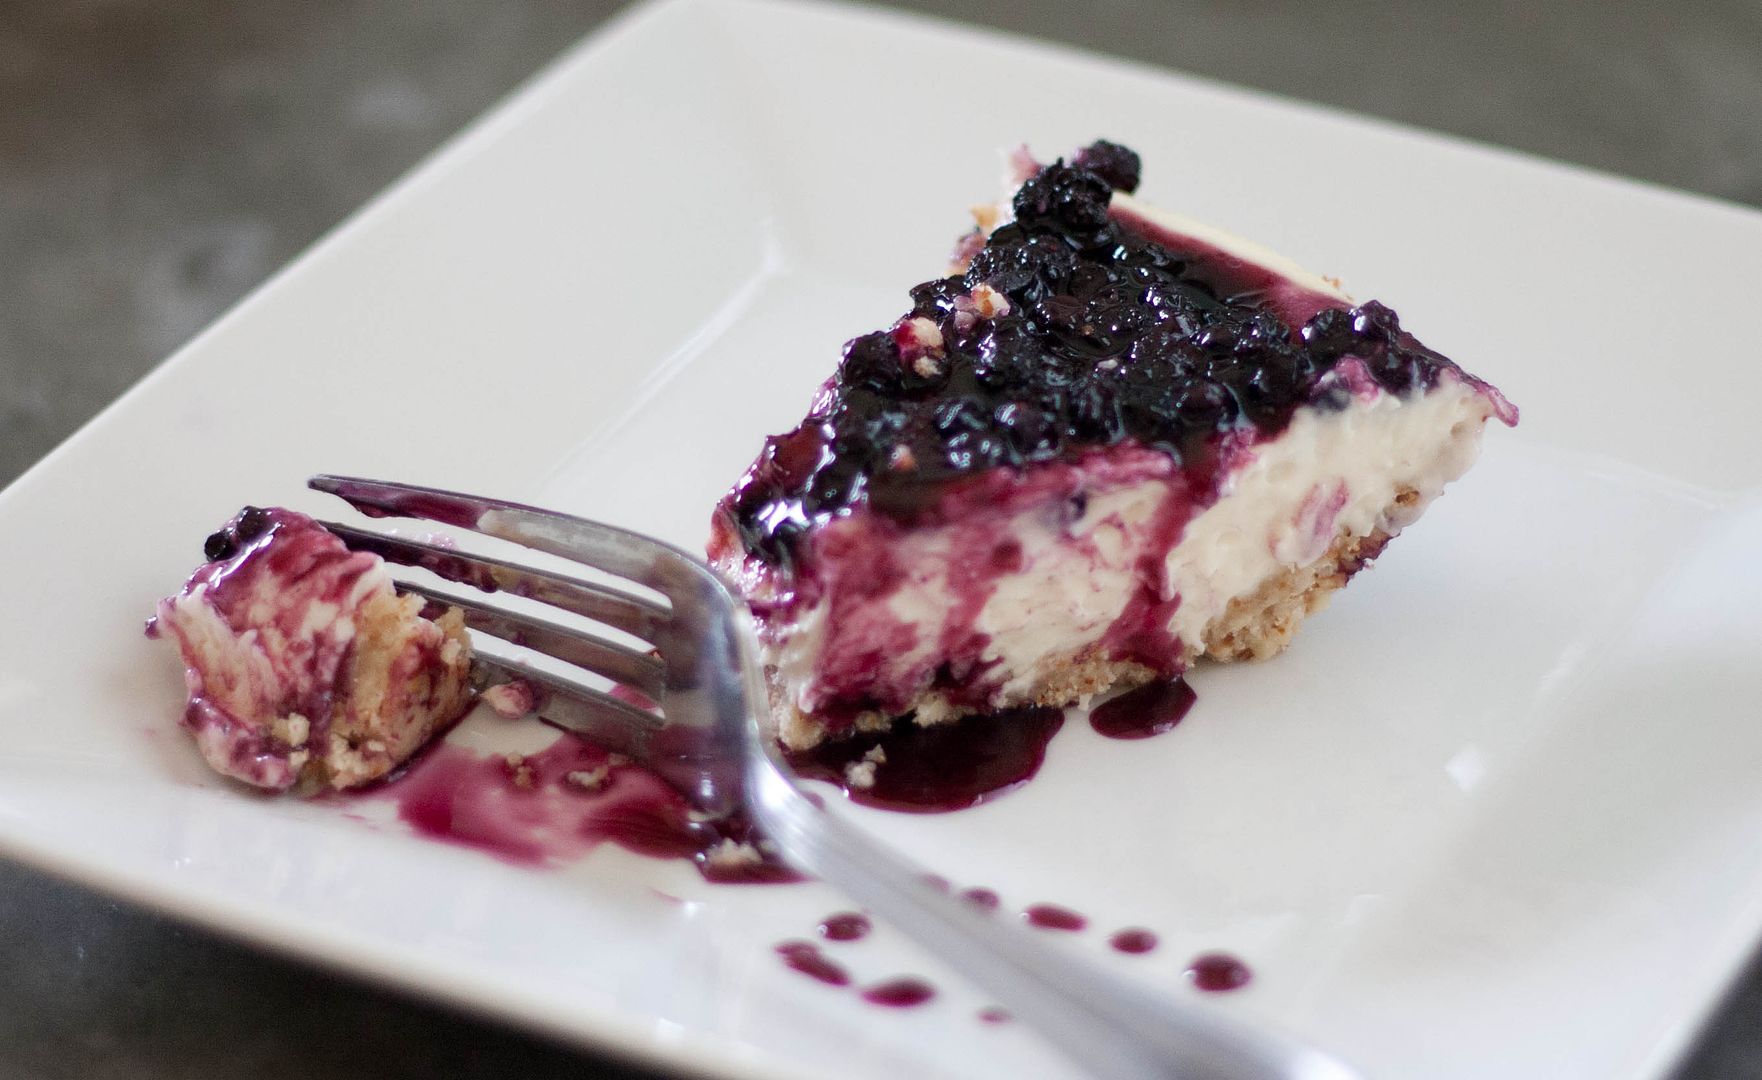
this recipe to make your own, so a few minutes later I was back in business. And we ended up with a complete pie. Whew.


Creamy and nutty and fruity, all rolled into one!  So yes, it ended up being a bit of a stretch to pull off all the steps, but nobody missed nap time and it was delicious, so I count it as a win! And it turns out B loves to help me cook, so he had a lot of fun too. When is the next dessert day? We're ready.


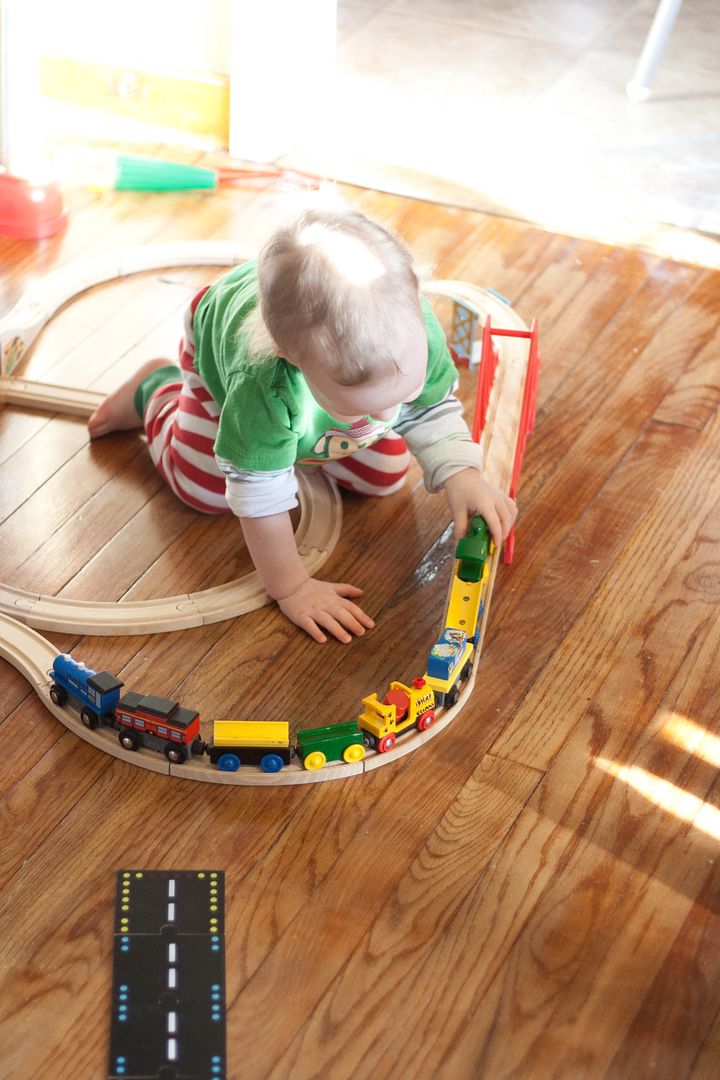
Even with the pie-making festivities, we still had plenty of time for B's favorite activity - choo choos! We have to play them every. single. day. And he totally doesn't appreciate my track building skillz. This was the only action pic I could get because he's learned that 
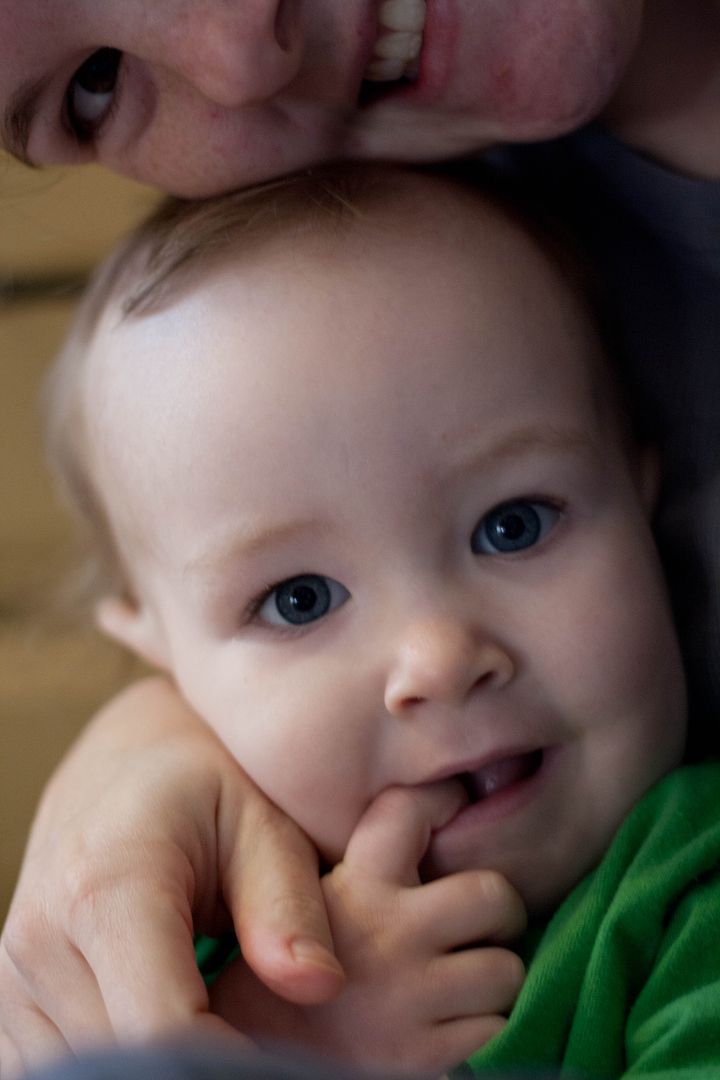
you can see the pictures on the camera screen. So, naturally, he only wants to be on that side of the camera now. Unless we're both in front. Then it's okay.


Did you celebrate pie day? What's your favorite, go-to pie recipe?

Tuesday, March 12

ORB - Take 2


Remember when I first tried Oil Rubbed Bronze spray paint? I used it to spiff up the thrift store lamps I bought for our nightstands.


I also spray painted a little something else at the same time. Check out that green grass. That's a hint about just how long it took me to take these after pictures.


But first the before! These knife blocks are great because they can hang on the wall, freeing up drawer space and staying out of Baby B's reach. But not so great is that off-white color.


I wiped them off to make sure there was no dust or grease (since they hang by the stove) that would interfere with the paint sticking. Then I just gave them several light coats of spray paint and let them sit overnight to make sure the paint was nice and cured. Then we just popped them back up on the wall. So much better! They look more expensive and totally updated. And it's a great contrast to our ............. white cabinets! Eeep! More details on that soon. :)


The paint/built in primer is amazing! Even after sliding knives in and out for a couple months, there isn't so much as a scratch in the paint!


Have you painted anything lately?

Sunday, March 10

Sunday Favorites

We didn't go to church today. A sick little boy has us quarantined at home. Boo! He seems to be feeling a little better now, just chilling with daddy playing an animal game on the galaxy player. So I thought I'd take a minute to share some of my favorite pinterest finds of the last couple weeks. None of these are my ideas, so if you want to pin anything please click through to the original pin first instead of pinning through my blog (I don't want to get credit for ideas that aren't mine!). Here we go...

Folding Chair Makeover - I'm totally planning to try this with our set!

Industrial Style Closet Shelving - we don't have the closet for this, but I'd love it in the office!

Raising Goats - someday, guys. Someday.

Monday, March 4

Our Shower's Dirty Litle Secret

We have a problem in our shower. I'll warn you now, it's gross. And yes, we probably shouldn't have let it get this bad before we did something about it. But we're fixing it now, so no worries. So if you're ready for this, I give you... the caulk around the tub.


Happy Monday!!! When we moved in almost 2 years ago, the caulk was so old it was falling off so we cleaned it up and re-caulked it then, but cheap caulk + a super sloppy job = we're almost back where started. It was cracking in places and all the nooks & crannies collected mildew. Gross.


The biggest problem was definitely the cracks in the caulk. Turns out those tiny little cracks were enough for water to seep through and start leaking into the basement! What?! I'll give that a double-yikes.


So it was clearly past time to clean things up in there. It took me a couple tools to find what worked best for me. I started with a plastic scraper that did a whole lot of nothing. Boo. But I ended up using a combination of a screwdriver, putty knife, and jewelry pliers (I was too lazy to go back to the basement for real pliers) to get the job done.


Oh, and I had an excellent helper. This is his "I get to use tools?!?" face. He would poke at the bathtub with whatever tool I put down. He had a really hard time putting them down long enough for me to take that last picture. ;)


Back to the nitty gritty...

Friday, March 1

Silhouette

I've always loved the cute silhouette projects on pinterest. It's such a great way to capture all the sweet features of little faces. So when I was looking back through some pictures and found this one from last summer, I knew it was time to tackle a project of my own!


At first I was going to be all fancy and and do it in photoshop... but the picture quality wasn't great and I couldn't get very clean lines. Also, I don't really know how to use photoshop. Minor detail. So after quite a lot of trying to tidy it up, I declared it more trouble than it was worth and made a plan B. (although now that I look at it again it doesn't look half bad. Oh well.)


Plan B was a good old fashioned approach. I started by printing out the picture.


Then very carefully cut out around his little head.


Subscribe