
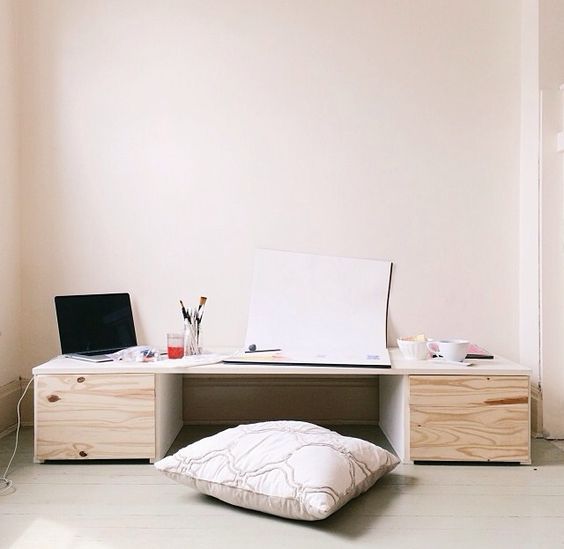
inspiration photo source
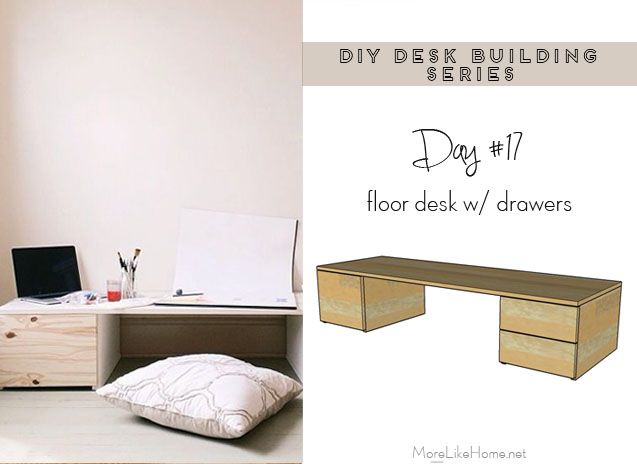
This desk has a drawer on each side to help keep office supplies or papers handy. For each side, you can choose between a single drawer or a stack of two drawers.
Shopping List:
- 1 - 1x10 @ 6'
- 1 - 1x4 @ 10'
- 1 sheet 3/4" plywood
- 2 - 4 sets of 18" drawer slides (depending on how many drawers you make)
- 2 - 4 drawer pulls (for a seamless look you can use the space under the tall drawers to open them and skip the pulls)
- Kreg Jig
- 1 1/4" pocket hole screws
- 1 1/4" wood screws
- finishing nails
- glue
- sandpaper and finishing supplies
Dimensions: 60" wide x 20" deep x 12 3/4" high

To make a taller desk, you need to equally add to the height of three things:
- the sides
- the backs
- the drawer fronts (easier to do with the single drawer!)
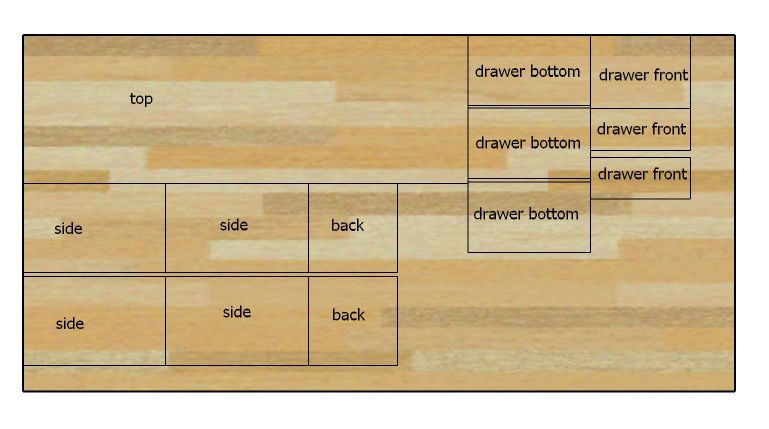
plywood cut layout
Desk Cut List:
(A) 4 - plywood @ 19 1/4 x 12" (sides)
(B) 2 - plywood @ 12 x 12 " (back)
(C) 1 - plywood @ 60 x 20" (top)
Single Drawer Cut List (for one drawer. double it if you want a single drawer on both sides):
(D) 1 - plywood @ 9 1/2 x 16 1/2" (drawer bottom)
(E) 2 - 1x10 @ 9 1/2" (drawer back)
(F) 2 - 1x10 @ 18" (drawer sides)
(G) 1 - plywood @ 13 1/2 x 11 3/8" (drawer front)
Double Drawer Cut List (for one set of drawers. double it if you want double drawer on both sides):
(H) 2 - plywood @ 9 1/2 x 16 1/2" (drawer bottoms)
(I) 4 - 1x4 @ 9 1/2" (drawer backs)
(J) 4 - 1x4 @ 18" (drawer sides)
(K) 2 - plywood @ 13 1/2 x 5 5/8" (drawer front)
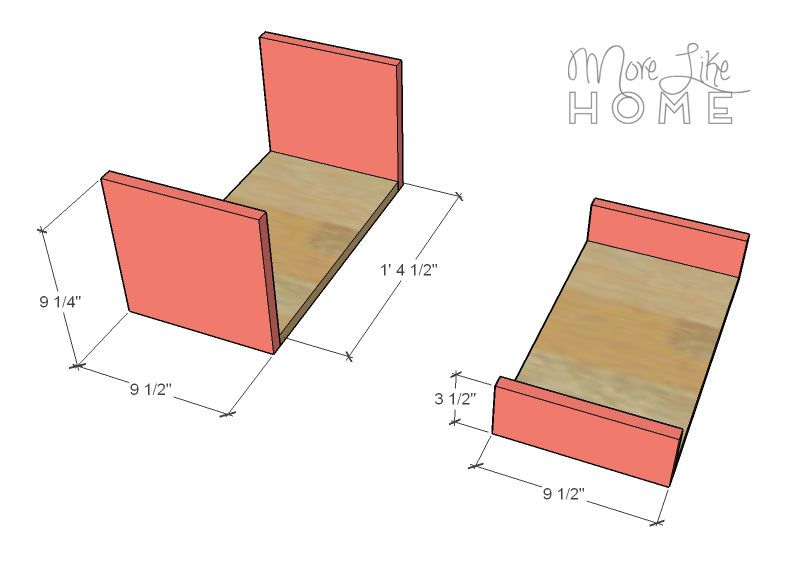
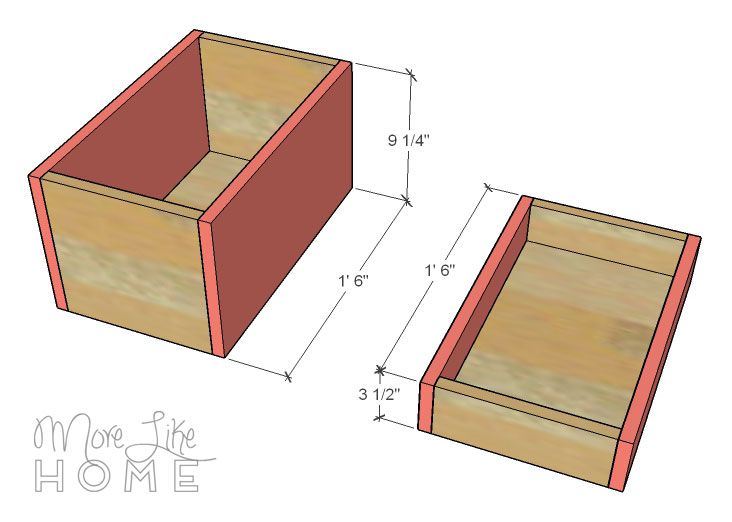
Make two boxes, one for each side of the desk. Start by drilling pocket holes along both sides of the back boards (B). Use these holes and the pocket hole screws to attach a side board (A) on each side of the back boards.
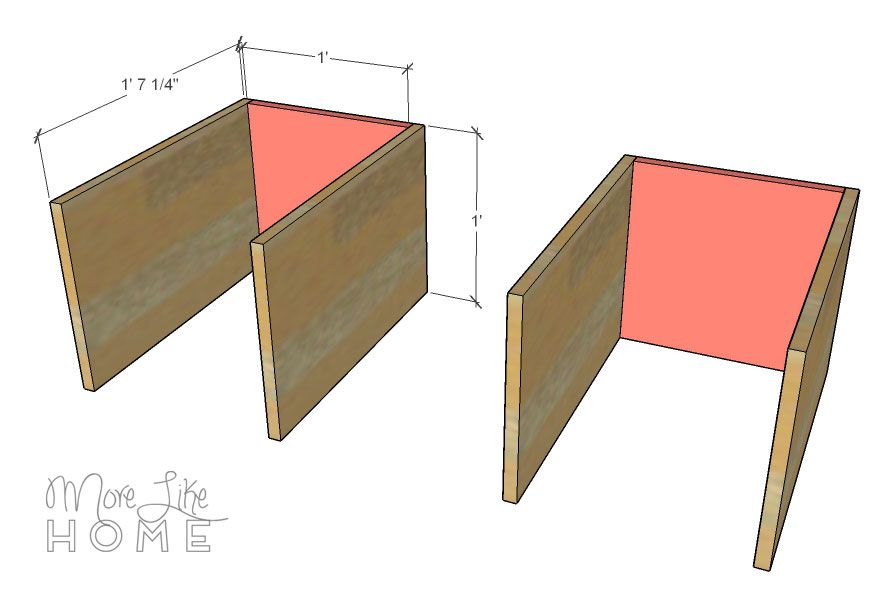
Drill pocket holes around the top of the sides and back boards, and use these holes to attach the boxes to the top. Each box should be flush with the side and back of the top, and set back 3/4" from the front. Make sure the sides of the boxes stay perfectly straight while you attach them or your drawer slides won't work smoothly later! Just keep everything flush, and make sure the sides are 12" apart at the back and front of the box. Don't let that front edge wiggle closer or farther than 12".

Now build your drawer boxes. For the tall drawer, attach a drawer back (E) to the front and back of the drawer bottom (D) by drilling through the back boards into the ends of the drawer bottom with 1 1/4" wood screws.
For the short drawers (remember you're making two of these per side!), attach a drawer back (I) to the front and back of the drawer bottom (H) by drilling through the back boards into the ends of the drawer bottom with 1 1/4" wood screws.
For the tall drawer, attach the drawer sides (F) by drilling through the sides into the bottom and backs of the drawer with 1 1/4" wood screws.
For the shorter drawers, attach the drawer sides (J) by drilling through the sides into the bottom and backs of the drawers with 1 1/4" wood screws.
Install your drawer boxes into the desk. These are built to allow 1/2" of space on either side to accommodate standard drawer slides. The drawers should line up flush with the front of the side boards (the top will overhang them by 3/4").
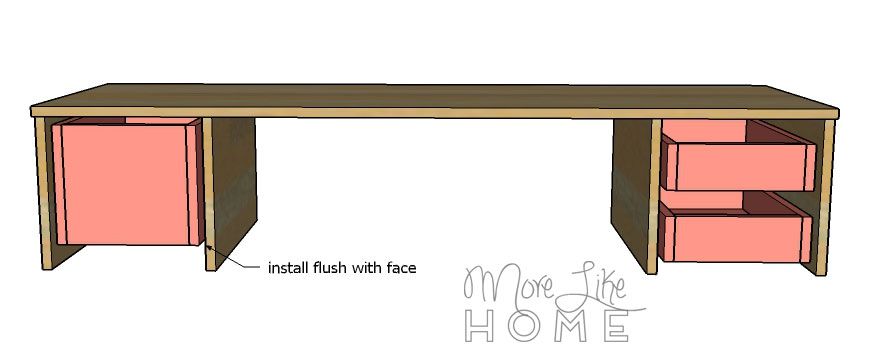
Install the drawer fronts (G & K) over the drawer boxes. They should be flush with the sides of the desk, with a 1/8" gap at the top and between the two small drawer fronts. Use a few finishing nails to hold them in place, then pull the drawers out and reinforce the bond by drilling through the inside of the drawer box into the drawer front with 1 1/4" screws (careful not to go all the way through!)

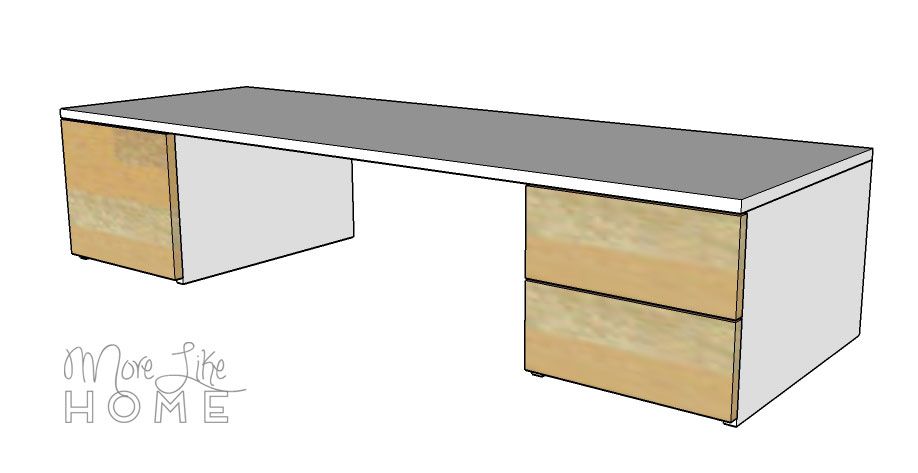
To finish, fill any holes with wood filler then sand everything down really well. This is the most important step for a professional finish! Start with a rough sand paper, then go over everything with a medium paper, then again with a fine paper. Once it's super smooth, finish it with whatever paint or stain and sealer you like. I'm loving the two-tone look of a white desk with stained drawer fronts!
Attach drawer pulls and you are done!
That's it! Come back tomorrow for another DIY desk plan, and check out the full series here!
)
Hello, do you have material costs?
ReplyDeleteSorry, I don't. I would expect to spend $50-60 on the lumber. Hopefully that helps a little! :)
DeleteHello, for the shopping list is it 2 sets for the lower desk and 4 sets of the drawers for a taller desk?
ReplyDeleteHi! The shopping list is for a desk that is 12 3/4" high. The height doesn't change, but you can choose one large drawer or two smaller drawers for either side. The shopping list as-is will make the desk with a single drawer on one side and two smaller drawers on the other (you'd have to adjust the list if you wanted both sides to match). Hope that helps! :)
Delete